Create photorealistic house from scratch to end in AutoCAD
- Description
- Curriculum
- FAQ
- Reviews

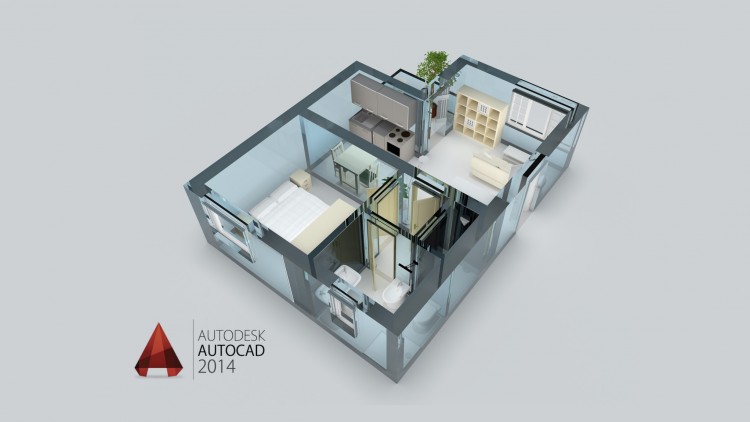
In this project based course you will learn to make a 3D Photo-realistic house right from a blank template with the updated rendering features of AutoCAD.
You will learn
-
To make the 3D model of a two bedroom house
-
To add the 3D furnishings like sofa, Chair, Bed etc
-
To make the 3D photorealistic rendering using latest rendering engine from AutoCAD
-
To make an animated walk-through video from your 3D model
-
To make 2D floor plan, section, elevations with dimensions
-
To plot the 2D plans with proper scale and paper size
So, it must be pretty obvious that you will learn about lots of tools and commands of AutoCAD 3D using this project and by the end of this course you will have your own set of 3D photo-realistic house with its 2D plans and you can use this course as a reference to make your own 3D house and its 2D plans.
The prerequisites
This course has been made with AutoCAD 2016 and 2019 version and I recommend at least 2016 version for this course, any later version will be perfectly fine too.
If you have AutoCAD 2015 or any previous version of AutoCAD then I recommend you to get the latest one as most of the rendering features are now enhanced and many are replaced with new one.
AutoCAD student version is free and you can get it for free from Autodesk website with three year student license.
What if you have questions
Well… whenever you have questions related to the course just type your message in the course discussion and I will get back to you with answers as soon as possible.
-
10Applying materials to 3D solid
-
11Adding material with opacity map and texture map
-
12Creating views with camera
-
13Customizing material properties
-
14Adding interior lights and making quick rendering
-
15Adding Sun, Geolocation, Date, and Time
-
16Adding environment presets
-
17Creating and saving rendering as image files
-
18Making animated video for presentation


Social Network